Quality Tips - Sunset Illumination
Prerequisites:
Sunset Illumination light Package
Sunset Illumination light Package
Optional
The goal of this tutorial is to achieve great lighting result to enhance the quality of your project and the happiness of your client
Inspecting Max Files
Open basicLightingSunset.max, we need to check a few thing as you would normally do for each of your project:
In 3ds Max : Verify that your Display Units and System Units are in Meters
Customize → Units Setup → System Unit Setup
Customize → Units Setup → System Unit Setup
We will notice several lights in the scene with informative text, all these lights are ready to work once you merge them into your project file
All Lights are already ready to use and saved with the recommended configurations
This package contains as well the envMap Object

Note this is NOT the cubemap, this will be used as ENVMAP information for REFLECTIONS
Using a Custom Atmos or EnvMap
Open atmos_AT_Ext.max, at first glance, you can only see a cube and several cameras, the purpose of this file is to bake the 6 Maps you need to use for ANY Cubemap or EnvMap. you will only need a simple HDRI texture map for this.
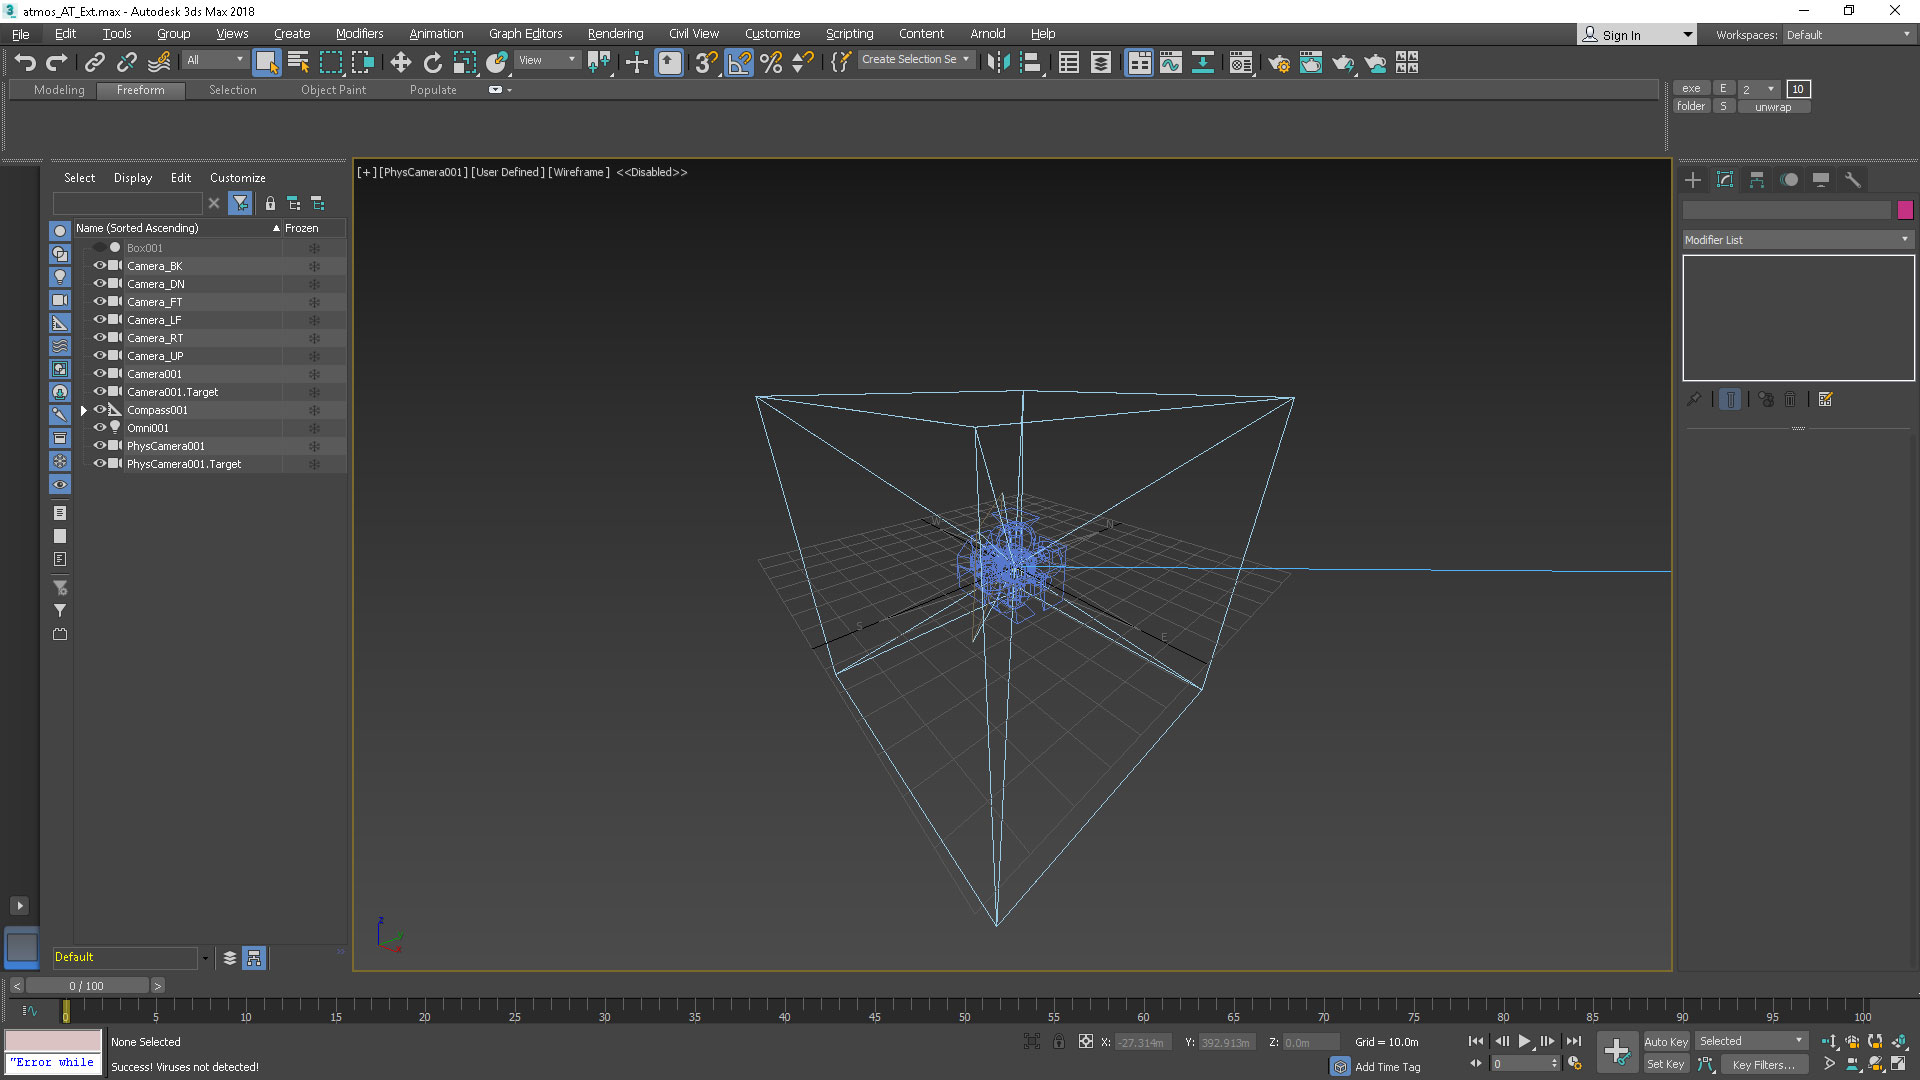
Open the Material editor and the first material to the left is the one you need to edit, it has the default sunset HDRI, you can use your own custom HDRI map if you want
To export the 6 images we need, we need to go to Rendering → Batch Render
Change the output path to define the directory where the images will be exported, you will need to do this for the 6 images
Click Render and all the images will be exported to the desired directory
To Import and use the 6 Images as your sky texture, open the Map Scene and find the object atmosCube_ and replace the multi/sub maps,
be careful to match the images
XPos→Xpos
XNeg→XNeg
....
Merging and using the lights
You can use many light sources across your scene, keep in mind a few tips and limitations:
• You can only use up to 3 light groups:
• You can only use up to 3 light groups:
•light_name
•light2_name
•light3_name
• name must be unique in all elements.
• Avoid multiple light overlaps, that may increase your baking times.
• Use instances to edit multiple lights easier.
• Use instances to edit multiple lights easier.
• Use lights in balconies and interiors to make an unique look for all apartments.
• Optimize your lightmap UVs as much as you can to take the most advantage of the bake resolution.
Where to add Lights?
Suns
You can use up to 3 suns
•sun_name
•sun_name
•sun2_name
•sun3_name
The idea is to use multiple suns to avoid shadowed spots when you move the camera, try to cover the most you can of the building facade but still casting nice and visible shadows

The suns will switch on and off accordingly to your camera movement
Recommended Blueprint Settings for groups
This is the recommended blueprint setting for the sunset light package
Remember you can customize certain contributions LIVE to get a better result for your client
Common Questions/Issues
After adding all these lights, my bake time increased to 20 hours
Having multiple overlapping lights can increase dramatically your baking time, avoid overlapping more than 3 lights in one place. If having overlapping lights is not your case, check the resolution of your lightmaps, this will increase the baking time AND the Tasks.
What should I consider to improve my lightmap resolution?
• Use lightmap resolution according to the object size ( Don´t use 1024 resolution on SMALL objects, Don´t use 64 Resolution on BIG objects).
• Share the lightmap on multiple small objects (props, foliage...), to do this, you´ll need to ATTACH the objects and unwrap again with the hauzd Max script (this way, you´ll make sure to not have any lightmap overlapping).
Related Articles
Quality Checklist
In order to create the best quality possible for each project, please check out this file in "attachments" sectionWebinar | Tips para mejorar la calidad y Productividad de tus proyectos 26 Mayo 2021
Webinar dictado el miércoles 26 de Mayo de 2021, dirigido a estudios y agencias. Material para descargar y usar: Archivo luces, guía pdf de valores https://downloads.hauzd.com/gettingstarted/lightingPack.rar Presentación pptx ...Quality Recommendations to make a Great Interactive App
With the latest hauzd update, creating an interactive app is easier than ever, you can entirely build the app using the renders you have already created for your client! You only need more than 4 rendered images, created with your favorite software, ...Webinar - Taking your project quality to the next level (English) Sept-09-2019
TAKING YOUR PROJECT QUALITY TO THE NEXT LEVEL Content: Low poly techniques Texturing Bake to Texture Foliage UV Mapping Exterior and interior lightsImportación de imágenes de Dron para uso en entornos
Requisitos: Formato: .hdr Modelo y proporción: 360 Equirectangular (ejemplos CORRECTOS) - NO PANORAMA SIMPLE (ejemplo incorrecto) - NO CUBEMAP (Ejemplo incorrecto) Resolución mínima: 2048x1024 Nivel de toma: Todos los edificios, árboles y estructuras ...